Tuesday 24 August 2010

Personalised Lunch bags

Hot off the press, my latest lunch bag. Have decided to offer personalisation as an option, and this is the first bag I'd tried it on.  I think next time I will use a thicker white fabric as you can still see the pattern through the name plate, but I'm pleased with how the stitching looks. 
Hmm probably should've tidied my kitchen a bit before taking that photo!

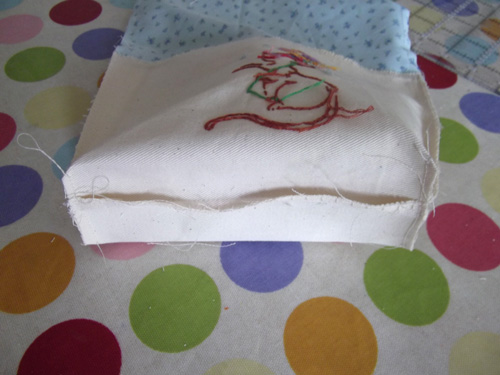
Here is a close up of the embroidered name.
I've also just bought some drill camouflage in blue and green, so am aiming to make bags that are just a bit more masculine.  Watch this space!

Sunday 22 August 2010

Crafty Camping

I have just come back from a weeks camping with my family. At first I was unsure how I would survive a whole week without my beloved sewing machine. I did even consider buying a treadle sewing machine, but knowing that my car would be full to the brim with camping equipment, that idea was soon relegated to the ‘nice but completely impractical’ section of my brain. A week without any crafting at all was inconceivable, so I decided that I must get organised. Gathering together my supplies I cut some cream calico, copied some embroidery patterns from the net and printed them out at the size I wanted, and gathered together needles, embroidery thread and scissors, and began to look forward to the trip.

To be honest, I’d forgotten how relaxing it is to hand-stitch. I spent a couple of hours each evening sitting outside the tent, stitching until it was so dark I couldn’t see the needle. Once home I set to work turning the embroideries into small gift bags. The results are as follows:


I thought I’d share a tutorial as to how I made the bags, and then hopefully the little bags I’ve made will soon multiply and we can take over the world with pretty, as well as useful, bags.

Cut 2 pieces of cream calico, approximately 7” x 9”. Transfer your design to the centre of one piece, but if you can position it slightly higher than the mid-point, as otherwise it will sit too low when you make the base of the bag. Sew your design.

Cut 2 pieces of lining fabric, the same size as your calico. Plus cut 2 handles from webbing or if you prefer make 2 handles from your lining fabric – these should be about 10” long each.

Lay calico on table face upwards, and position handles on top, about 2” in from each edge. Check that the handle is not twisted when you pin it. Place the lining fabric face down on top of the handle, enclosing the handle between the two fabrics. Pin in place and stitch along the top edge.
Repeat for the other piece of calico, handle and lining fabric, although this time be sure to leave a gap of about 2” in between the handles when you stitch the fabrics together. This is used later to turn the bag in the right way.
Open the fabrics out and lay them right sides facing so that the calico is lined up with calico and lining with lining. Sew all the way around the edges of the fabric.
Pull the corners of the bag outwards, almost as though you are opening a bag of crisps. Lay the side seam on top of the bottom seam, so that it makes a triangle in the corner. Mark in 1” from the point of the triangle and draw and then sew a line across, making the base of the triangle. Cut the point of the triangle off. Have a look at these next two photos and hopefully it will make more sense. Repeat for each corner of the bag.

Turn your bag in the right way through the hole you left in between the handles. Then pin and top stitch close to the top edge.
Admire your completed bag.

I hope these instructions make some sense. If you make any bags from my instructions I’d love to hear about them.